“Always wanted to have a go at photoshopping a car image but didn’t know where to start? We explain some of the basics”
Over the past few years, automotive Photo Chopping has found its own place in the modified car scene. What’s a photo chop? Basically it’s taking an image of a car and using a computer to modify it in much the same way you would a real car. Not only does it give you the chance to get creative with car styling, it can also be useful in helping you decide which rims (and what size) look best on your own car, and which paint colour works. Virtual modifying is really only limited by your imagination.
NZ Performance Car magazine ran monthly chop competitions for many years, so we asked the design team to show us some of the basics. Once you’ve nailed these, it’s just a case of practising.
Tools of the trade
When it comes to undertaking a photo chop you’ll need three things: a reasonably modern and powerful computer, a software package to produce your chop in, and a whole lot of patience.
We’ll assume you have a computer up to task, so what about the program? Well, when it comes to photo chops there really is only one piece of software to use: Adobe Photoshop. Photoshop is a professional program developed especially for the graphic design world and is one of the main tools we use it to put NZV8 magazine together. Unfortunately the software isn’t cheap, but you can try before you buy for nix by downloading a trial version from Adobe’s website at www.adobe.com.
Getting started
When it comes to sourcing an image, bigger is always better. No, we’re not talking about the size of the chop subject, but the size of the image. There are plenty of websites from which to source high-resolution images, and finding something that you can enlarge really makes the chop job easier. Ultimately you’re trying to make your finished artwork look as realistic as possible, and to do this you need to have fine detail.
Once you have found an image or taken one of your own car, familiarised yourself with Photoshop (there are plenty of online tutorials out there in cyberspace) and opened your chosen image, you’re ready to start Chopping. First up — the essential lowering job.
Lesson one: suspension drop
No one likes a big ugly gap between the top of a tyre and the bottom of a wheel arch. Luckily there is a simple solution to your virtual problem, and it doesn’t require the use of an angle grinder. Let the sacking begin.
To start we need to make a selection around the body area. This is something that is best done with the Pen selection tool. You’ll need to practise making selections with this tool because it’s not all that easy to use, but it really is the ideal one for our purposes. Here you can see the selection being made around the wheel arch area.
Once you are happy with the selection select EDIT > COPY from the top tool bar, then EDIT > PASTE. If you turn on your Layers window you will now see a new layer above your background layer with the body selection. Turn off the background layer and you should have something like this.
Turn your background layer back on, re-select your new body layer and then select the Move tool from the tool window. By using the arrow keys on your keyboard you should now be able to move the body of the car to the desired ride height.
Once lowered we now need to remove bits of the original car in the background. In this case we’ve used the Clone Stamp tool. You will need to hide the layer you have just created of the car to do this.
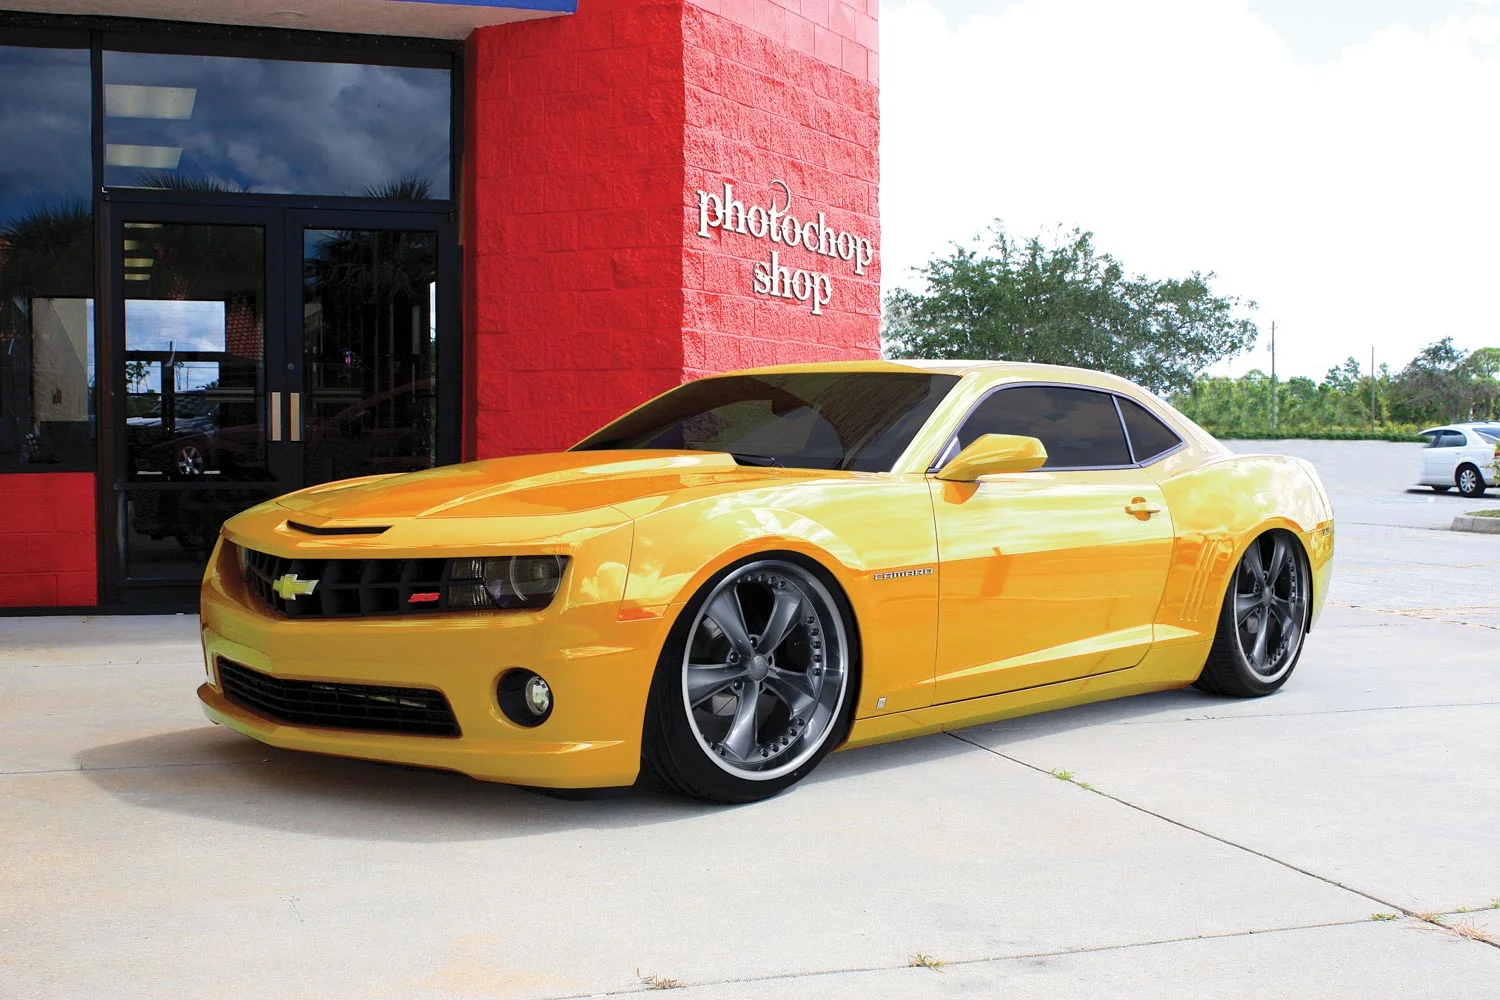
The finished product. And just how much better does it look lowered?
Lesson two: the paint booth
With the ride height sorted our next lesson is about paint. In just a few easy steps you can completely change the look of your creation. As a bonus, you’ll also learn how to tint out the windows.
To get started we need to go back to our body layer. Go to Image > Adjust > Replace colour and eyedrop any of the main body colour of the car. Turn the fuzziness up and change the hue to any colour your heart desires. In this case we have made it a pretty cool gold colour.
Extra
To tint your windows use your pen tool to make a selection around the glass. Once you have that, make a new layer of the selection and then choose black from Window > Swatches. Go Edit > Fill and your windows should go solid black. Then it’s just a case of using the Opacity scale on your layers window to alter the transparency of the tint.
Lesson three: the right rims
Once you’ve got your ride hide sorted, a new set of rims will be on the chopping list. Just like you found your base image to work from, you now need to find a set of wheels to suit. To make this easy it’s always best to find some that have been photographed from a similar angle to the wheels on your base image. It doesn’t matter about the size of the rims, which can be adjusted to suit, but once again, finding a high-resolution image is very important.
Once you have your wheel image use the pen tool to select its edges. Make a new layer of this selection and then use the Move tool to drag the wheel over onto your car document. It may be bigger or smaller than you need but this is easily fixed. Choose Transform > Scale from the top menu bar, but hold down the Shift key to keep its proportions the same as you alter the size. Here you can also use the Transform > Skew tool to get the wheel angle looking just right.
Drag your wheel layer underneath your finished body layer and it should tuck up under the guards. Depending of the angle of your original image you should be able to use your chosen wheel on the rear of the car too. Copy the wheel layer then again use all the TRANSFORM tools to get the right look.
Flatten your image — you’re done!
We'd love to see what your creations look like, so make sure to email them to editor@v8.co.nz.
This article was originally published in NZV8 Issue No. 64. You can pick up a print copy or a digital copy of the magazine below:


