Brake flaring is a basic DIY job that anyone can do with the right tools on hand
There will come a time during any substantial build when you’ll need to make, or remake, a brake line or two. Maybe you’re shaving your engine bay for the ’gram likes or plumbing in a hydraulic handbrake for your weekend warrior; whatever the reason, making new hard lines is a very simple DIY task, as long as you have the correct tools. There are two tools needed for the job: a handheld mandrel tube-bender — these cost as little as $20 — and a double flaring tool, which can be purchased from as little as $40, and, if you’re lucky, this will include a cutting tool. You can purchase cheaper single flaring tools, but, be warned, these are not industry standard nor do they produce legal lines for use on New Zealand roads (so don’t be cheap).
Selecting the tube
New tubing, commonly called ‘bundy tube’, typically comes in a coil and needs to be either copper-nickel or steel. The make-up and size are printed on the tube. Stainless tube is also available and very common in race car applications but is not recognized by the Low Volume Vehicle Technical Association (LVVTA) for street use and has to be the correct stainless to allow the double flare.
As the bundy comes coiled, you’ll first want to straighten it. This can be done by hand, with a specialized tool from the likes of Eastwood that works like a reverse English wheel, or vice jaws, which we use, which work pretty good but can easily mark the tube if you’re not careful.
Flaring


When it comes to flaring, there is only one way to go on a Japanese car, and that’s a double flare. This is when you essentially fold the end of the tube in on itself before flaring out. It’s the OEM standard in Japan and gives you a great seal that is legal in New Zealand.
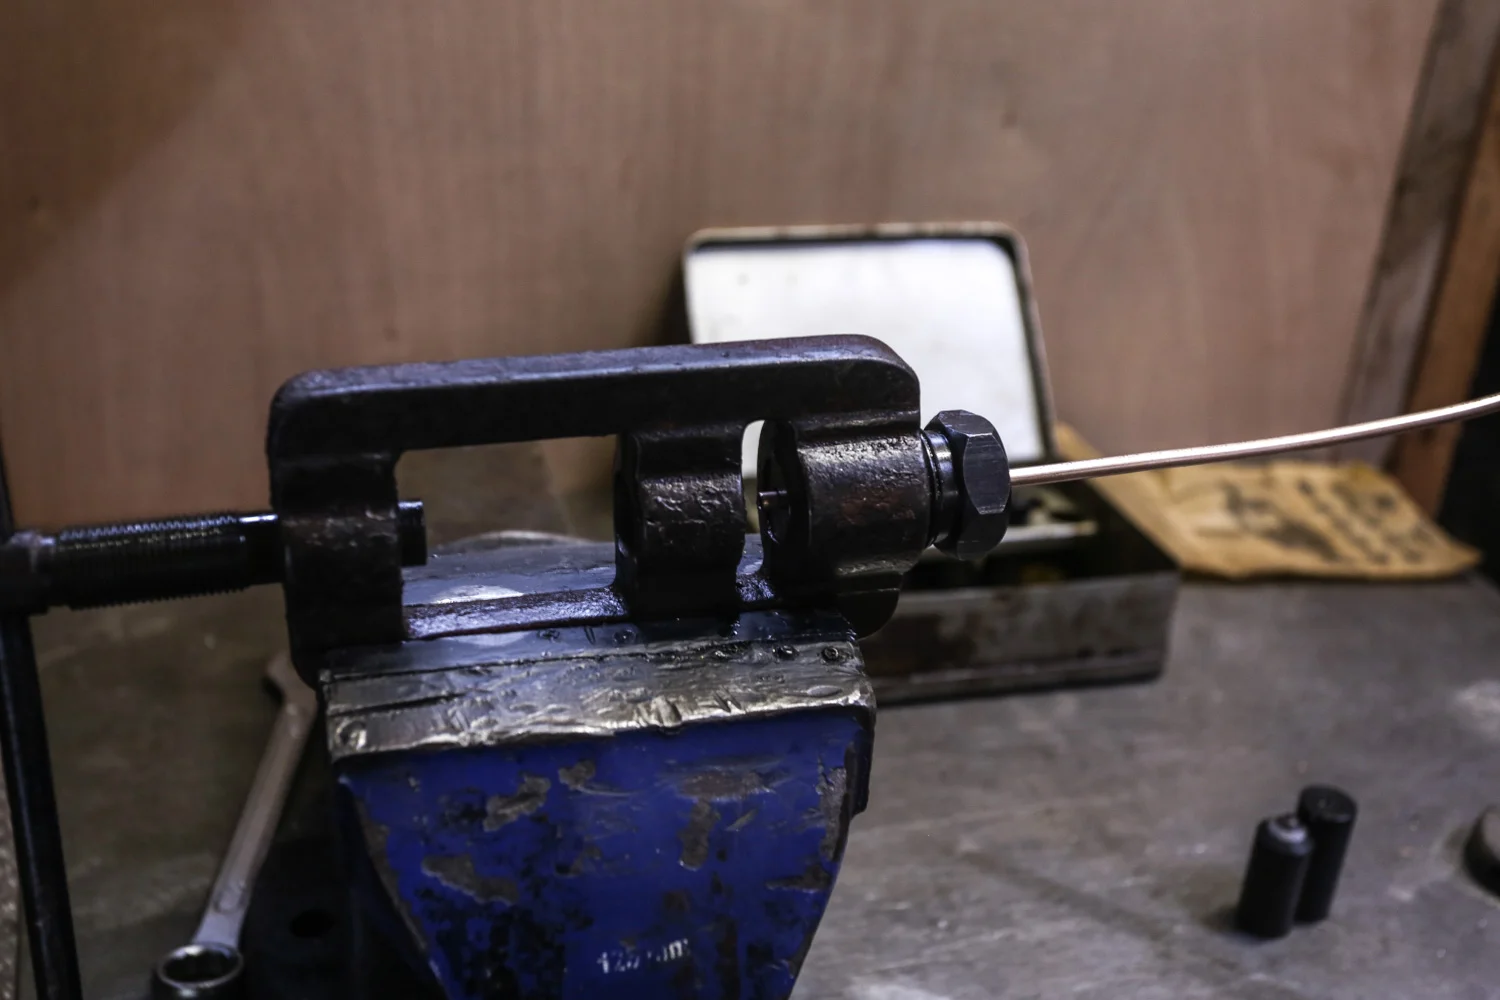
The two-stage flare process begins with selecting the two-piece tapered collet for your size of tubing (probably 3⁄16 inches) and inserting it into the small vice-mounted press. Leave 4mm of tube proud; any more, and it will bulge the tube and not allow the fitting to side pass. As a side note, ensure that you have the fitting on before flaring … or it will be a redo. First, use the button die to bubble the end of the tube, then swap to the flaring die, which will fold the tube in on itself and flare it out to meet the tapered collet. Ensure that the flare is even, and then you’re home and hosed (excuse the pun).
When installing your lines, you’ll need to secure these to the chassis either by P-clamp or a small cable-tie clamp. We like to rivnut these onto the chassis for a neat, functional appearance.
Cutting and bending
Routing each line from point A to point B is when your inner OCD can run wild, matching angles and getting all symmetrical. We like to take a large piece of straightened tube and begin from point A, bending the tube as we go, leaving excess at the end for trimming and flaring once we have the shape worked out.
When routing, take into account the fact that you’ll need to secure the line to the chassis (at least every 300mm if a road car, and no closer than 50mm to your exhaust). Ensure also that you have enough straight tube at the ends for the flaring tool, so no bends too close to the end. Having bends further from the fittings also gives you a more reliable system that won’t leak if you bump the line. Once you have it close, a tube cutter will give you the cleanest and straightest cut. If the cut isn’t straight, it will give you a leaky flare. We tidy all the cut ends with the supplied deburring tool, but a step drill will do the same trick.